Rigging workflow

Build a cleaner character rig with accurig 2 From mesh to motion.

accurig 2 is easiest to understand as a capability split: you guide the character, let the system fit a skeleton, then review the result before export. That separation makes common rigging decisions easier to inspect and correct.

Core capabilities

Three mechanisms that make the workflow clearer

The second-generation workflow is less about one automatic button and more about giving each rigging decision a visible place in the process.

How it works

Step-by-step from character mesh to usable rig

Treat each stage as a checkpoint. A clean handoff between placement, fitting, and review reduces surprises when the character reaches animation.

  1. 1

    Prepare the character

    Use a readable humanoid mesh with its limbs, torso, head, and feet clearly separated in the shape. Remove unnecessary geometry and check that the model faces the expected direction before uploading.

  2. 2

    Place the guides

    Position the key markers over joints and body landmarks. Spend time on shoulders, hips, knees, elbows, wrists, ankles, and the head because those points influence how the fitted skeleton bends.

  3. 3

    Review and export

    Inspect the resulting skeleton against the mesh, test a few basic poses, and correct visible problems before sending the rig into the next part of your production pipeline.

At a glance

The workflow has three practical checkpoints

These checkpoints describe what you can control, rather than promising that every source mesh will produce the same result.

Prepare a readable character mesh
01 stage
Place guides on important body landmarks
02 stage
Review the fitted rig before export
03 stage
Move the result into animation software
04 stage

Use cases

Where this split helps most

Different artists need different levels of control. The useful question is not whether the process is automatic, but where manual review gives you the most value.

Character modelers

You have finished a custom humanoid mesh and need a dependable starting skeleton without building every joint hierarchy by hand.

The separated placement and fitting stages make it easier to catch proportion errors while the model is still fresh. The [what is accurig](/what-is-accurig) overview explains the underlying idea.

what is accurig
Blender artists

Your character begins in Blender and needs to move from modeling into posing, testing, or a broader animation pipeline.

A review-first workflow gives you a chance to inspect the rig before importing it into a Blender scene. The [accurig blender](/accurig-for-blender) guide covers that handoff.

accurig blender

Indie game teams

You need to test several original characters quickly while keeping enough control to reject weak joint placement.

The capability split turns batch preparation into repeatable checkpoints, helping a small team focus its time on meshes that need actual correction. Compare the approach in [accurig vs mixamo](/accurig-vs-mixamo).

accurig vs mixamo

Animation learners

You are learning how character proportions, joint placement, and deformation affect a finished animation.

Seeing the guide positions before the final skeleton helps connect anatomy decisions with motion problems. The [accurig tutorial](/accurig-tutorial) gives the process a practical order.

accurig tutorial

Limits and edges

Before and after: automation still needs a visual check

Automatic fitting can save setup time, but it cannot infer every unusual design choice. The biggest gains come when the source mesh is clear and the artist checks the result before animating.

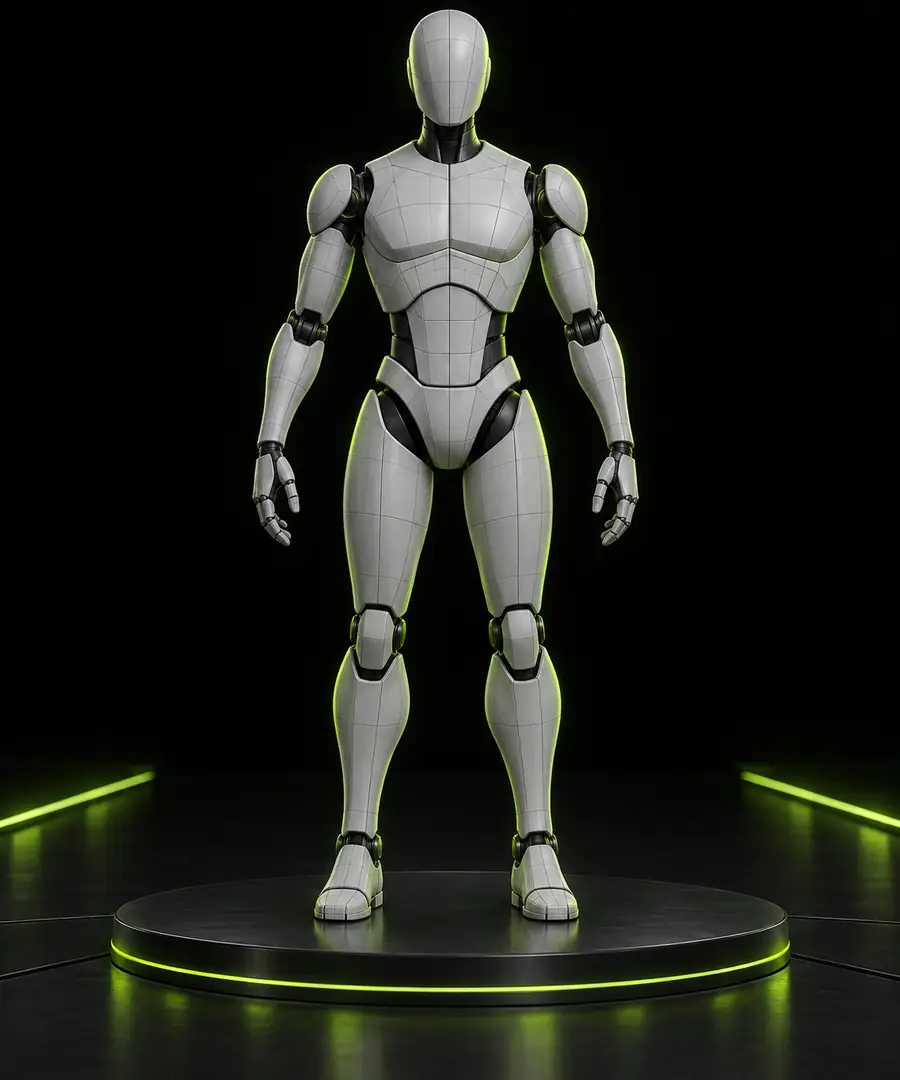
Unrigged character mesh prepared for automatic rigging Prepared mesh
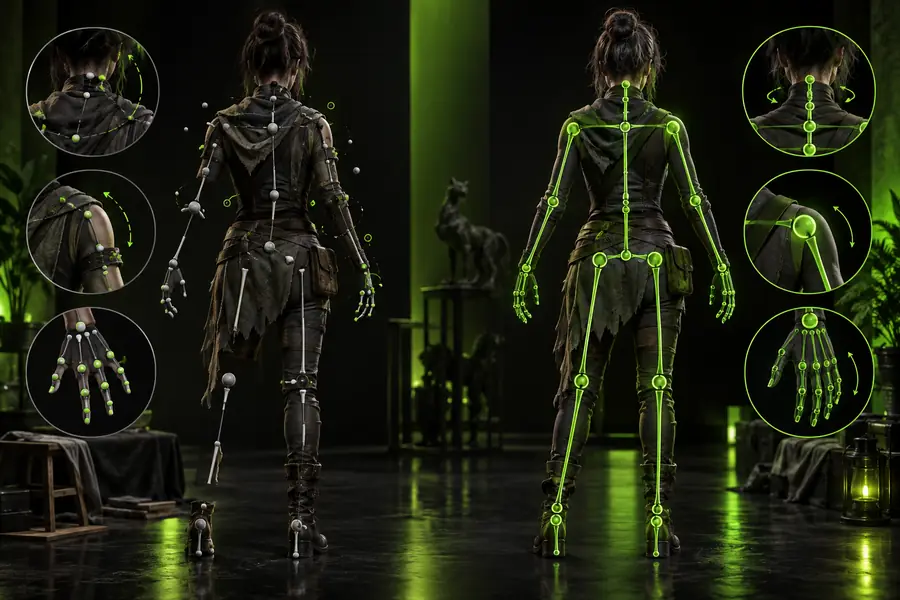
Character mesh shown with a fitted rigging workflow Reviewed rigging result
Use review as a required checkpoint, especially for stylized proportions, nonstandard limbs, layered clothing, and meshes with hidden or intersecting parts. A successful fit is not the same as a production-ready deformation setup; test the shoulders, hips, knees, and hands before committing to animation.

Common questions

accurig 2 FAQ

These answers focus on what the second-generation workflow changes and where its boundaries remain.

accurig 2 is a way to think about the AccuRIG workflow as separate capabilities: preparing the mesh, placing body guides, fitting a skeleton, and reviewing the result. The split gives artists clearer checkpoints instead of treating automatic rigging as an uninspectable final step.

The useful change is the clearer separation between artist input and automatic fitting. You can focus first on the character landmarks, then judge the fitted result on its own before moving into animation or export.

No automatic rigging system can reliably understand every unusual proportion, costume layer, or non-humanoid feature without review. AccuRIG can reduce manual setup, but artists should still check guide placement, joint alignment, and basic poses on the finished result.

It can be a useful starting point for stylized humanoids when the body structure is readable and the main joints are accessible. Very exaggerated proportions, hidden limbs, extra appendages, or intersecting meshes may require more manual correction or a different rigging approach.

No. Its role is to help create and review a character rig, while animation software remains the place for posing, keyframes, retargeting, deformation tests, and final scene work. Export compatibility and cleanup should be checked in the application where the character will be animated.

Start rigging
Start rigging