Character artists
You have a modeled humanoid character but do not want to build every joint and weight from scratch.
AccuRIG gives you a structured starting rig that you can inspect and refine in Blender.
what is AccuRIGBlender workflow
The accurig blender workflow connects automatic character rigging with Blender scene work, giving you a practical path from an unrigged mesh to a usable animated character.
Use these related guides to understand the tool, compare alternatives, and plan your next character workflow.
AccuRIG handles the repetitive rigging stage so Blender can remain the place where you refine materials, animate, light, and render.
Start with a clean, visible humanoid model. Remove distracting hidden geometry, check the pose, and make sure the body proportions are easy to identify before sending the mesh into AccuRIG.
AccuRIG uses guided joint placement to build a character skeleton. Check the shoulders, hips, knees, elbows, hands, and feet carefully, because small placement errors become obvious during Blender animation.
Export the rigged character in a format your Blender pipeline accepts, then import it into a test scene. Confirm the armature, mesh deformation, materials, scale, and animation controls before doing final production work.
The workflow has three checkpoints: model preparation, automatic rigging, and Blender validation. Each one protects the next stage from avoidable cleanup.
The visual difference is not just a skeleton added to a model. A successful handoff also depends on clean deformation and a Blender scene that is ready for testing.
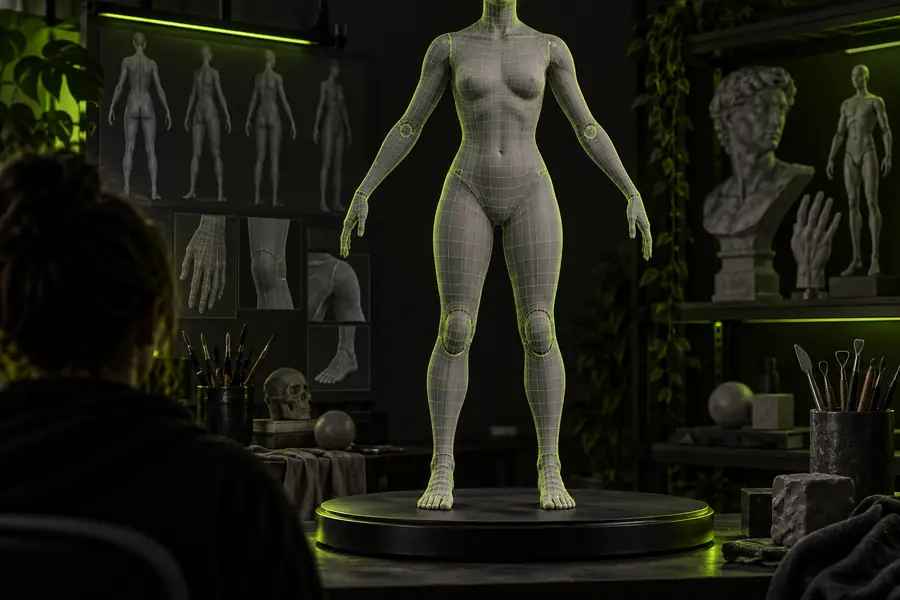 Before: mesh only
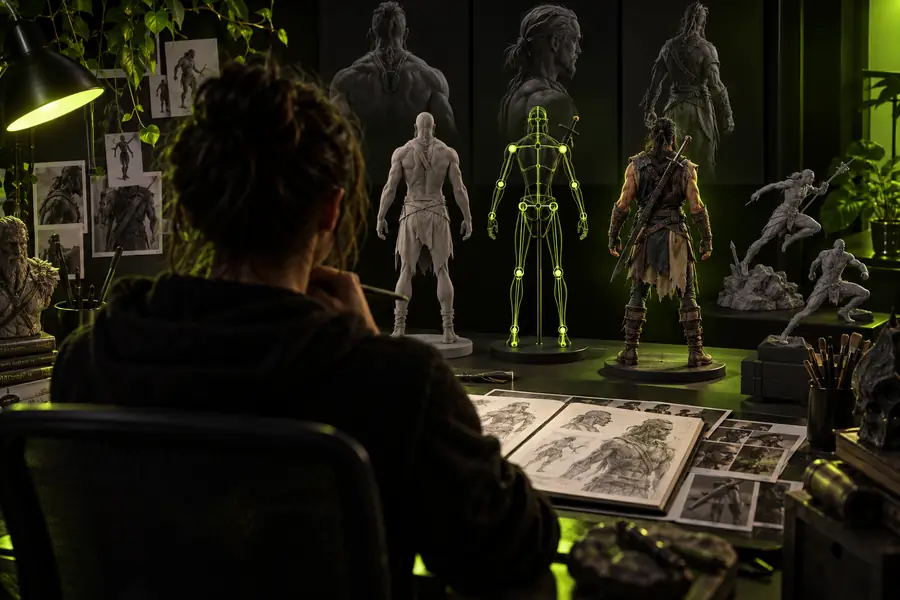 After: rigged for Blender
Different Blender users need different levels of control. AccuRIG is most useful when you want to reduce setup work while keeping the character inside your own 3D pipeline.
You have a modeled humanoid character but do not want to build every joint and weight from scratch.
AccuRIG gives you a structured starting rig that you can inspect and refine in Blender.
what is AccuRIGYou need to move from a finished mesh into blocking, posing, and motion tests without a long technical setup.
The AccuRIG workflow shortens the distance between modeling and your first Blender animation pass.
AccuRIG for animationYou work across modeling, lighting, rendering, and compositing and need a repeatable character handoff.
AccuRIG can provide the initial structure while Blender remains the main scene and production environment.
AccuRIG tutorialYou are deciding whether automatic rigging is a better starting point than a manual setup or another service.
A controlled Blender test scene makes it easier to compare deformation, export behavior, and cleanup effort.
AccuRIG vs MixamoTreat AccuRIG and Blender as connected stages rather than interchangeable tools. AccuRIG focuses on automatic character setup; Blender handles the broader 3D production process.
Primary role
AccuRIG
Automatic humanoid character rigging
Blender
Modeling, animation, rendering, and scene production
Starting point
AccuRIG
A prepared character mesh
Blender
An imported mesh, rig, or complete scene
Skeleton setup
AccuRIG
Guided placement and automatic generation
Blender
Manual or scripted rig construction and editing
Deformation review
AccuRIG
Initial rig inspection before export
Blender
Detailed pose testing and weight refinement
Animation work
AccuRIG
Rig creation and preparation
Blender
Keyframes, constraints, motion editing, and rendering
Materials and lighting
AccuRIG
Not the main focus of the handoff
Blender
Full material, lighting, camera, and render controls
Best use together
AccuRIG
Create a usable character skeleton efficiently
Blender
Turn the rigged character into a finished 3D shot
Answers to the most common compatibility and handoff questions for this workflow.
Yes. AccuRIG can be used to prepare a rigged character and Blender can then be used for import, posing, animation, materials, lighting, and rendering. Always test the exported file in the Blender version and pipeline you plan to use.
Prepare a clean humanoid mesh, send it through the AccuRIG rigging process, review the joint placement and deformation, then export the character in a Blender-compatible format. Import it into a simple Blender test scene before building a full shot.
Check the armature hierarchy, object scale, mesh deformation, materials, and pose behavior. Test shoulders, elbows, hips, knees, hands, and feet with a few extreme poses so you can identify cleanup needs early.
Yes. Blender is the place to continue production work after the initial AccuRIG setup. You may need to adjust weights, pose controls, materials, constraints, or animation depending on the character and the demands of your scene.