Rigging workflow

Build Better Character Rigs With an accurig tutorial

This accurig tutorial walks from a clean character mesh to a usable skeleton, with practical checks for placement, deformation, and export. Use the workflow to understand what AccuRIG is doing at every stage instead of relying on trial and error.

Free to start · no signup

Continue exploring

A clear rigging path

Use these related guides when you need a broader explanation, a Blender-specific handoff, or a comparison before choosing your next step.

Mechanism cards

How AccuRIG turns a mesh into a usable rig

A successful result depends on three connected mechanisms: readable geometry, sensible joint placement, and a final deformation check before export.

Character artist

You have a modeled humanoid with recognizable limbs, a head, and a clear stance, but no skeleton.

AccuRIG gives the mesh a structured starting rig so you can move into posing and animation without placing every joint manually.

what is accurig
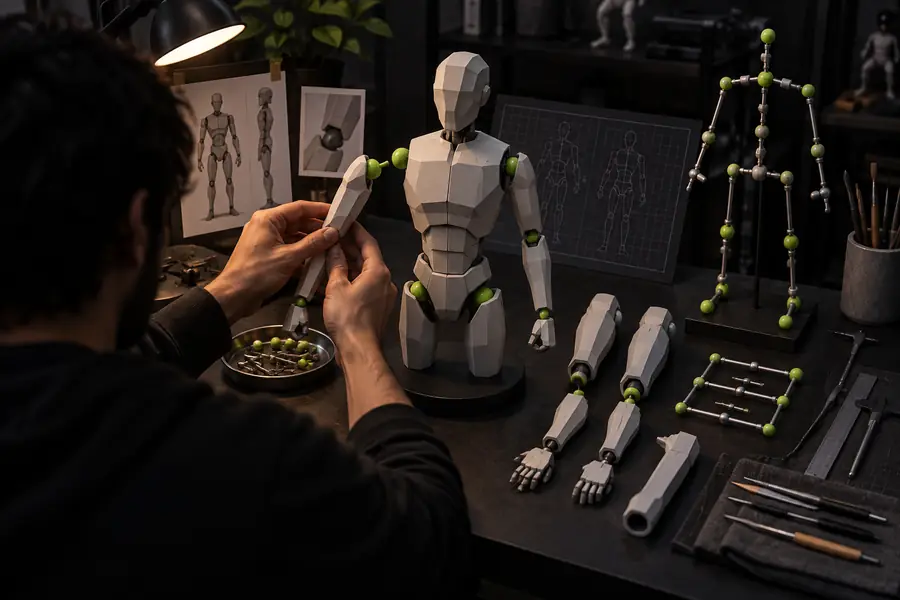
Blender user

You want to use an external rigging step before bringing the character into your existing Blender scene.

A careful export and import pass keeps the character, skeleton, and scale understandable when the asset reaches Blender.

accurig blender

Animation learner

You are learning how a neutral character becomes ready for a walk cycle, pose test, or short performance.

The workflow makes the relationship between joint placement, skin deformation, and animation readiness easier to inspect.

accurig for animation

Pipeline reviewer

You are deciding whether an automatic rigging route is suitable for a particular production asset.

A repeatable review reveals where automation saves time and where manual cleanup is still necessary.

best accurig alternative

Step-by-step

The AccuRIG tutorial workflow

Treat rigging as a sequence of decisions. Each stage gives you a chance to catch problems before they become harder to correct in animation or export.

  1. 1

    Prepare the character

    Use a clean, readable mesh in a neutral pose. Check that the body is not hidden by disconnected accessories, extreme bends, or overlapping geometry that could confuse joint placement.

  2. 2

    Place and refine joints

    Mark the main landmarks first, then inspect the spine, shoulders, hips, elbows, knees, wrists, ankles, and feet. Keep joints centered in the intended anatomy rather than on the visible surface.

  3. 3

    Review the deformation

    Pose the character through simple bends and rotations. Look for collapsing shoulders, twisting elbows, pinched hips, or feet that rotate around the wrong axis before you export.

  4. 4

    Export and validate

    Choose the destination format and bring the result into your animation package. Confirm scale, orientation, bone naming, skin weights, and playback behavior in the final scene.

Workflow checkpoints

Four checks that keep the process predictable

These checkpoints are not promises about automatic results. They are practical moments in the tutorial where a short inspection can prevent a long cleanup session later.

Start with one readable character mesh in a neutral pose.
01 mesh
Review both joint placement and deformation instead of trusting the first preview.
02 passes
Prioritize the spine, shoulders, hips, and limbs because they drive most visible motion.
03 areas
Validate scale, orientation, skinning, and playback after the asset leaves AccuRIG.
04 export checks

Limits and edges

Where the workflow needs extra care

Automatic rigging is a strong starting point, not a substitute for anatomy review or production testing. These limitations are normal parts of a responsible AccuRIG tutorial.

Non-humanoid bodies may not map cleanly

Creatures, quadrupeds, mechanical characters, and characters with unusual proportions can fall outside the assumptions of a standard humanoid setup.

Workaround

Use a suitable custom workflow or test the most important joints before committing to a full animation pass.

Clothing and accessories can confuse placement

Long coats, loose sleeves, hair, armor, props, and overlapping parts may obscure the landmarks needed for reliable joint positioning.

Workaround

Simplify the scene, hide distracting pieces when possible, or inspect the result closely around covered joints.

Automatic skinning can need cleanup

Shoulders, hips, elbows, knees, and fingers may show unwanted volume loss or twisting when the character moves through extreme poses.

Workaround

Correct weights or corrective shapes in the destination 3D application after the first AccuRIG pass.

A rig is not the same as animation quality

A correctly structured skeleton does not automatically produce convincing timing, foot contact, arcs, or acting choices.

Workaround

Use simple animation tests, refine the rig where it blocks motion, and treat performance as a separate creative stage.

Visual check

From unrigged mesh to animation-ready starting point

Character preparation and rigging tutorial workspace Before: prepare and place
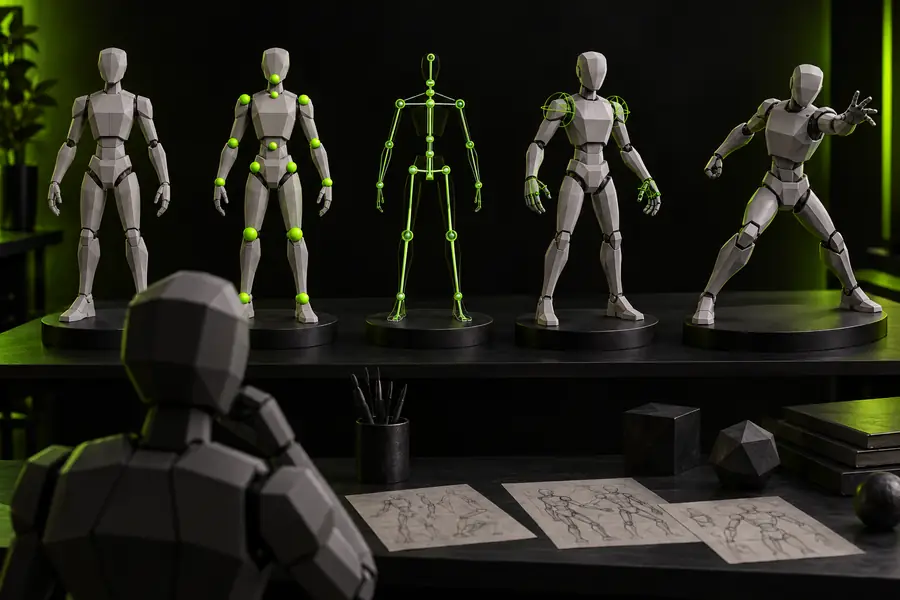
Advanced character rigging workspace with a prepared rig After: review and animate
The useful result is not just a skeleton on screen. It is a character whose joints, deformation, and export behavior have been inspected well enough to support the next stage of work.

FAQ

Frequently asked questions

These answers address the practical question behind the search: how do I rig my character without losing control of the result?

Start with a clean character mesh in a neutral pose, then identify the main body landmarks and place the joints around the intended anatomy. Review the skeleton, test a few bends, and export only after checking shoulders, hips, elbows, knees, and feet.

Prepare a readable character with a clear head, torso, arms, legs, and feet. Remove or hide geometry that obscures important landmarks, and avoid judging the result from a highly bent or cluttered pose.

Test simple motions rather than relying only on the skeleton preview. Bend the elbows and knees, rotate the shoulders and hips, and inspect whether the mesh collapses, twists, or moves around an unexpected pivot.

A standard workflow is most predictable for humanoid proportions. Unusual characters may require extra preparation, a different rigging method, or manual corrections after the automatic pass.

Export the character and validate it in the application where you will animate. Check scale, orientation, bone behavior, skin weights, and a short motion test before building a larger animation.

Start rigging
Start rigging